Horse riding lessons are an excellent way to improve your balance, coordination, and overall fitness in a dynamic, engaging setting. Horseback riding has also been shown to reduce stress, enhance mood, and build self-esteem, especially in younger riders. Still, like any sport, horse riding requires planning and preparation. To ensure you benefit fully from your inaugural lesson, it’s crucial to familiarize yourself with the basics of horse riding, including safety, equipment, and riding protocol beforehand. You will also need to be ready to discuss your goals with your instructor: For example, do you want to learn to ride recreationally, or do you hope to compete one day? Understanding your objectives will help your instructor develop the best lesson plan to meet your needs.

In this guide, we will explain how to prepare for your first horse riding lesson and discuss the skills and techniques you can expect to master early in your journey. We will also provide tips on how to advance more quickly and build confidence in the arena.
Safety Briefing and Gear Check
During your first horse riding lesson, you will review important safety guidelines, including proper horse handling techniques, barn etiquette, and gear selection. Safety protocols typically covered in beginner horse riding lessons include:
How to Approach a Horse
Even the friendliest horses may react negatively if startled, so it’s vital to learn how to avoid spooking your riding companion. To prevent mishaps, your instructor will teach you how to approach, handle, and lead a horse safely on the ground before you get in the saddle. They will also educate you about things that can frighten horses, such as camera flashes, loud noises, sudden movements, being approached from behind, other animals, vehicles, etc. Knowing how to avoid these stimuli – and respond appropriately if your horse becomes spooked – is essential for safe horse riding.
Note that some horses get startled more easily than others, so if possible, choose a brave, willing breed of horse for your first lessons. The Paso Fino, with its extensive history as a ranch and trail horse, is ideal for novice riders because it has been selectively bred for calmness.
Barn and Trail Etiquette

During your first riding lesson, you will learn the importance of maintaining a safe distance from other riders in the arena or on the trail. Keeping a safe distance helps prevent collisions, spooking, or other potential hazards during group riding activities. Your instructor will also emphasize the importance of being aware of your surroundings, including other riders, obstacles, and dangers in the riding environment. Developing situational awareness can help you anticipate and respond to changing conditions while remaining respectful of other riders.
As part of proper barn etiquette, you will be asked not to approach unfamiliar horses, even if they aren’t being ridden. If you see a horse in a stall or pasture, always seek permission from the owner or handler before interacting with the animal.
Emergency Procedures
Expect to be briefed on basic emergency procedures and what to do in case of unexpected situations, such as if you lose control over your horse or a fire or weather emergency occurs. You will be taught emergency dismount procedures (i.e., how to dismount quickly without injury) and familiarized with evacuation routes. You may also be shown how to lead your horse to safety. Knowing how to react calmly and confidently in emergencies can help prevent accidents and minimize risks.
Gear and Equipment Guidelines
The right gear and equipment are crucial to a safe and comfortable horse riding experience. Essential items that you should bring to your first horse riding lesson include:
-A well-fitted horse riding helmet that is neither overly snug nor too loose. Your helmet should meet approved safety standards and be capable of protecting your head in the event of a fall.
-Boots with a heel, such as paddock boots or riding boots, to provide grip and prevent your foot from slipping through the stirrup while riding. They should have a closed toe and a heel no higher than one inch.
-Comfortable, fitted clothing that allows for freedom of movement while riding without being loose. Poorly fitted or baggy clothing may get caught on equipment or obstacles, so it is essential to arrive dressed in proper riding attire, such as breeches (or jodhpurs), a T-shirt or sweatshirt, and riding gloves to protect your hands from blisters and provide better grip on the reins.
-If you have long hair, bring hair ties or a hairnet to keep your hair secured and out of the way while riding. This precaution helps prevent distractions and ensures clear visibility.
-A riding crop for cueing and communication with the horse. Not all stables require students to bring a riding crop, so make sure to ask your instructor if this equipment is needed for your first lesson.
-A water bottle and sunscreen (if you plan to ride outside). Horse riding is a vigorous workout, so it’s critical to avoid becoming dehydrated.
-A first aid kit that includes essentials like bandages, antiseptic wipes, and any medications you may need.
Remember to check with your riding instructor or the stable where you’ll be taking lessons to see if they have any specific gear requirements or recommendations. Bringing appropriate, well-fitted gear to your first horse riding lesson will help you stay safe and focus on the learning process.
Getting to Know the Horse

Understanding how to interact with horses respectfully and confidently is essential for building trust and establishing a positive relationship with your new riding companion. Cooperating with your horse is a key aspect of the riding experience, so you should pay close attention to your coach’s instructions and never rush the introduction process.
Be aware that you should always approach a horse from the front, slightly off to the side, rather than from behind. This stance allows the horse to see you coming and reduces the risk of the horse becoming startled and kicking. As you approach the horse, speak in a calm and soothing voice to let it know you are there, and move slowly and deliberately (don’t increase your pace as you get closer to the horse).
Be aware of the horse’s reactions and behaviour as you approach. Ideally, the horse should display signs of relaxation, such as a lowered head, curious gaze, and ears pricked forward. If the horse is restless or its ears are pinned back, back away slowly and give it space.
When you are close enough, extend your hand slowly toward the horse for it to sniff; this step helps the horse become familiar with your scent and presence. Refrain from touching the horse abruptly or reaching out to pat it without first establishing a sense of trust.
Horse Grooming
Once you have been properly introduced to the horse, your instructor will help you groom it before your first ride. Grooming is a great way to create a bond with a horse and ensure it feels comfortable letting you ride it. Grooming also prevents dirt and debris from getting lodged below the horse’s tack, which can irritate the skin or cause abrasions.
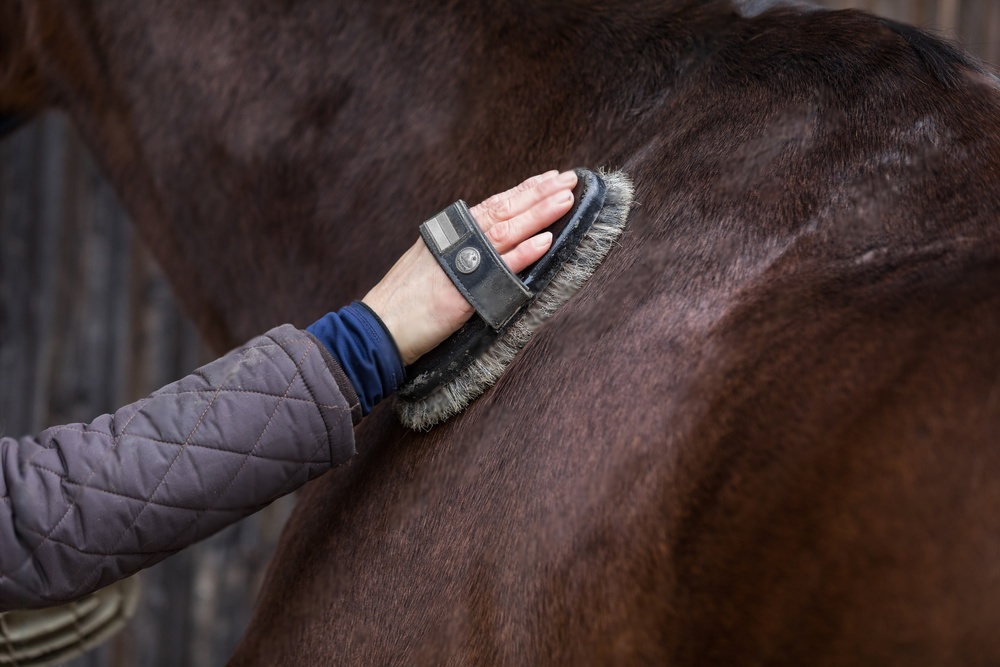
Before grooming begins, your instructor will make sure the horse is securely tied or held by a lead to prevent it from moving around during the grooming process. Then, you will use a curry comb to loosen dirt, dust, and excess hair from the horse’s coat. Start at the neck and work down to the hindquarters using gentle circular motions and a light touch. To prevent discomfort for the horse, avoid brushing sensitive areas, such as the face or directly over bone.
Next, use a dandy brush in short, flicking motions to remove the loosened dirt and debris from the horse’s coat. Brush in the direction of the hair growth to avoid irritating the horse’s skin, paying extra attention to areas where dirt often accumulates, such as the legs and belly. Follow up with a body brush, working in long, sweeping motions to bring out the natural shine of the horse’s coat and promote circulation. When you have finished, switch to a mane and tail comb and carefully detangle the horse’s mane and tail, then wipe the horse’s body down with a finishing cloth.

Before you get in the saddle, you must also pick out the horse’s hooves to remove any dirt, rocks, or debris trapped in the hoof. (Optionally, you can also apply a hoof conditioner.)
While grooming, take the opportunity to inspect the horse’s skin, coat, and hooves for any signs of injuries, cuts, or abnormalities. Notify the stable manager or instructor if you notice anything that may require attention.
With your instructor’s permission, you can give your horse a treat when you have finished grooming it. Rewarding your horse for good behaviour will further reinforce your bond and get your first ride off to a positive start.
Tacking Up a Horse
Before you begin tacking up, ensure you have all the necessary equipment (i.e., a saddle, bridle, saddle pad, stirrups, and girth) and that your instructor has secured the horse. When the horse is ready, place the saddle pad on the horse’s back, verifying that it is centred and positioned correctly to provide cushioning and comfort. Then, lift the saddle onto the horse’s back and gently align it in the correct position over the saddle pad. When you have finished, the saddle should also be centred so it rests evenly on the horse’s back.
Attach the girth to the saddle on both sides, starting with the side farthest from you and moving to the near side. Secure the girth snugly but not too tight to ensure the saddle stays in place during the ride. You should have just enough room to slip your hand under the girth if it’s properly fitted.
Once the horse is saddled, ask your instructor to untie its lead and help you put on the bridle. Hold the bridle in one hand and gently guide the bit into the horse’s mouth while using your other hand to slip the headstall over the ears. Fasten the throat latch and noseband to secure the bridle in place, leaving just enough space to fit two to three fingers under the noseband and four fingers under the throat latch.
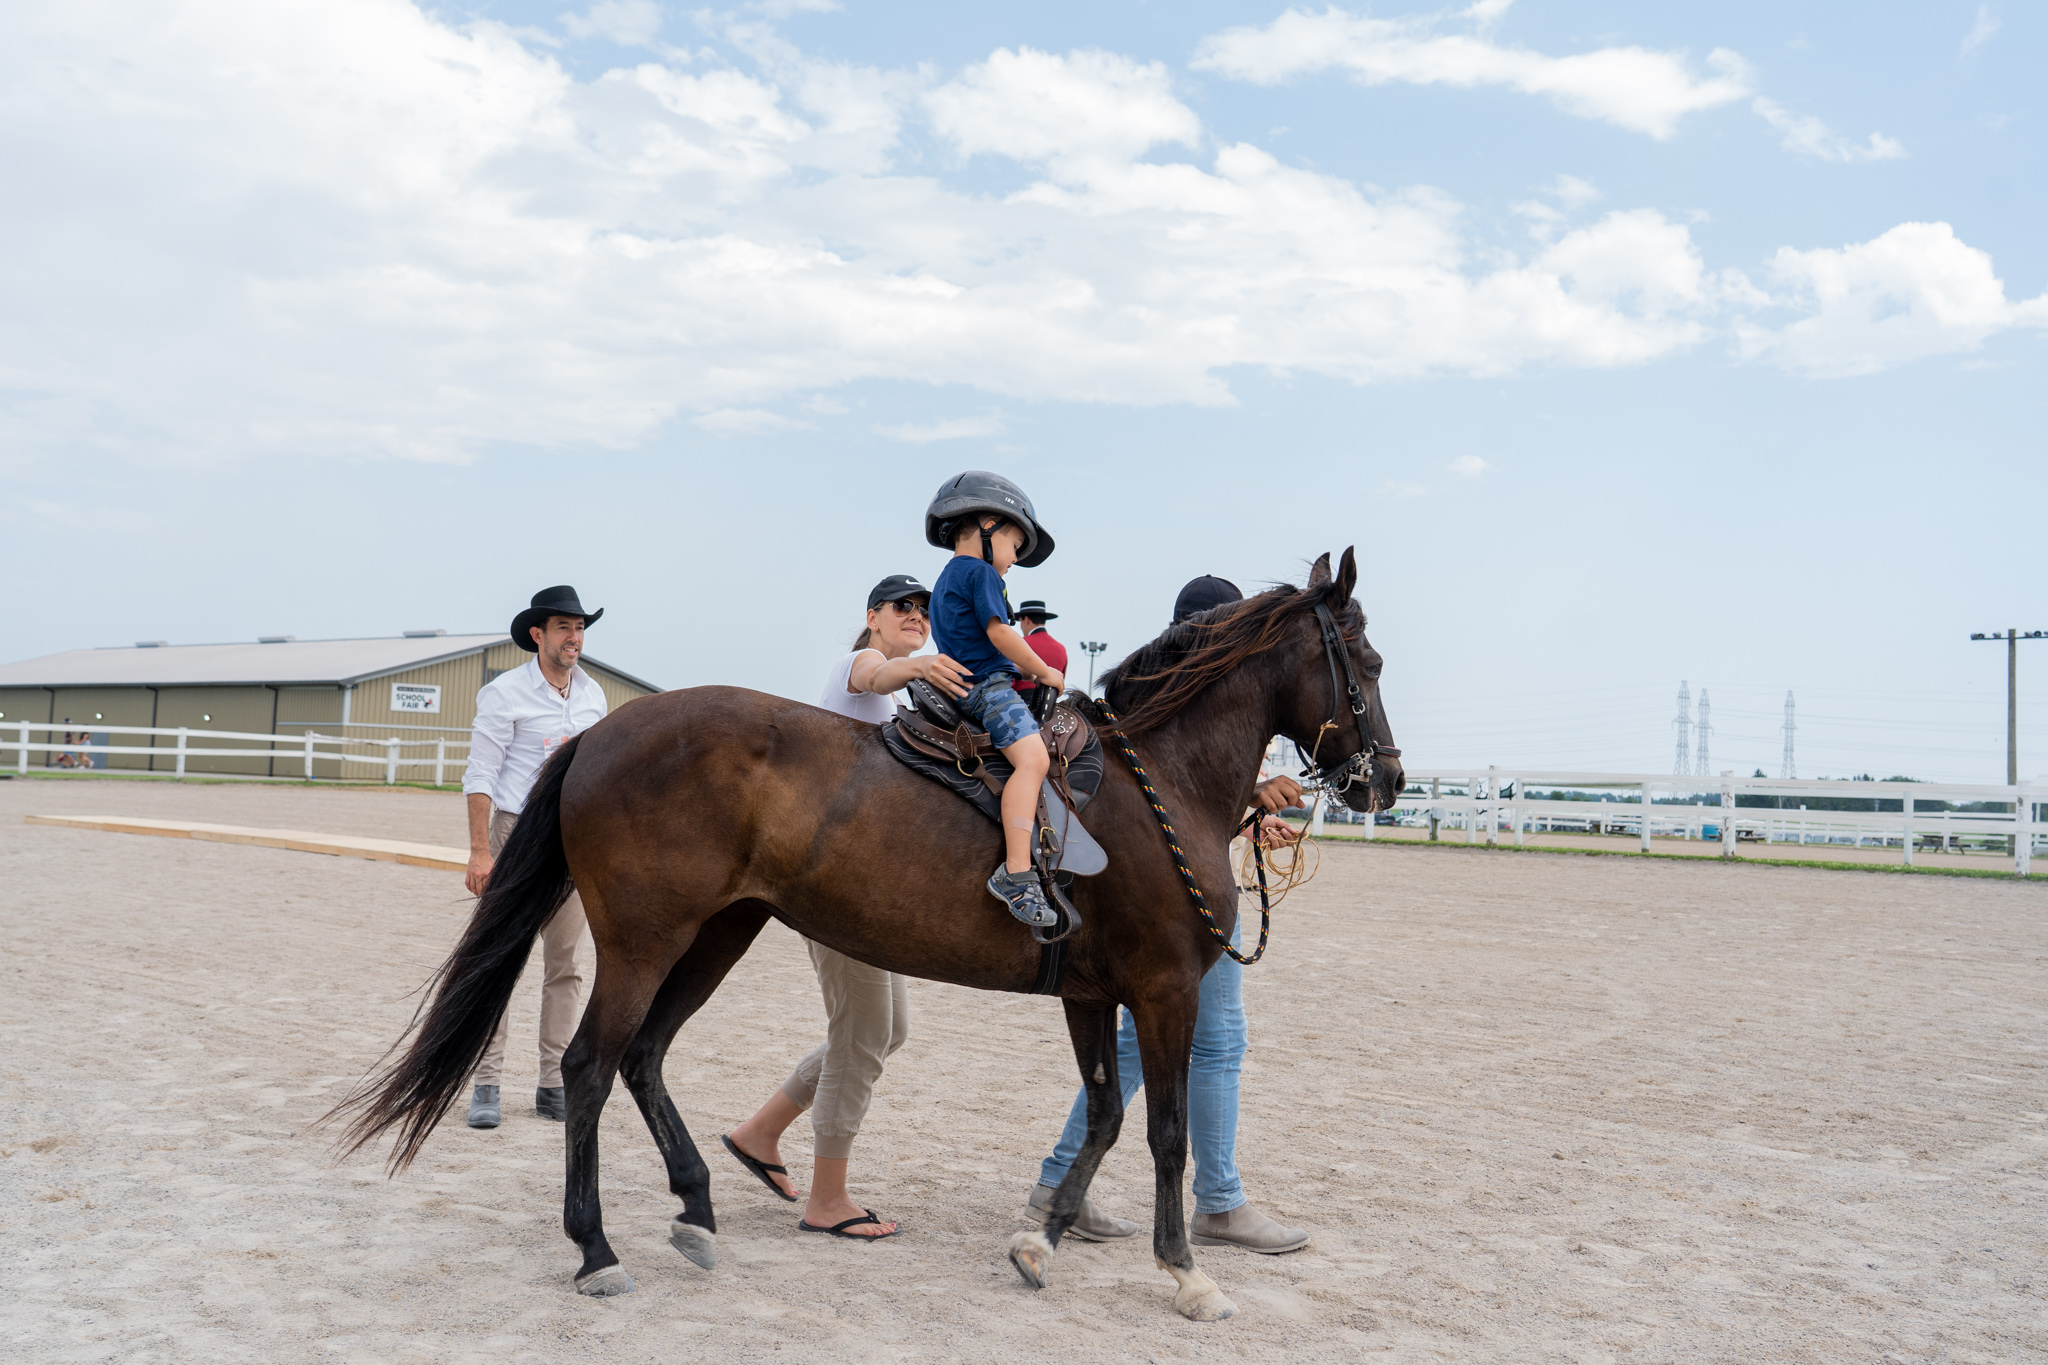
Finally, your instructor will help you mount the horse so you can adjust the stirrups to the appropriate length for your legs. Ensure that the stirrups are even on both sides and hang at a comfortable length for your riding position.
Before you start your lesson, do a final check of all tack to make sure everything is secure and in the correct position. This step will help prevent any issues during your ride and ensure the horse is comfortable and ready to interpret your cues correctly.
Basic Riding Skills and Techniques You’ll Learn
It’s important to have realistic expectations for your first horse riding lesson: You won’t be jumping your horse or going out on trail rides right away. Instead, you will spend your first few lessons mastering basic horsemanship skills while your instructor leads the horse around the ring. Some of the concepts covered during early horse riding lessons include:
Mounting and Dismounting
During your first riding lesson, you will learn how to mount and dismount a horse safely and correctly to reduce the risk of accidents or injuries. Proper mounting and dismounting techniques help maintain control and stability during the process.
To mount a horse:
-Stand on the animal’s left side (facing forward), parallel to the horse’s shoulder.
-Hold the reins in your left hand to maintain control of the horse while mounting. Neatly gather the reins against the front of the saddle or a chunk of the horse’s mane to prevent them from getting tangled in the stirrups.
-While your instructor holds the horse securely, step onto the mounting block and grasp the top of the saddle with your right hand. Put your left foot in the stirrup while being careful not to pull on the horse’s mouth with the reins, pull yourself into the saddle, and swing your right leg over the horse, settling in a comfortable sitting position.
To dismount:
-Bring the horse to a complete halt, then remove your feet from the stirrups to prepare for dismounting.
-Hold the reins in your left hand to maintain control of the horse and swing your right leg over the horse’s back, positioning yourself to dismount.
-Slide down the side of the horse, landing softly on the ground with both feet. Avoid getting in front of or behind the horse after dismounting.
Mounting and dismounting may sound simple, but learning how to execute these moves quickly and smoothly requires practice. Remember that the goal is to mount the horse without shifting the saddle, pulling the reins against the horse’s mouth, or accidentally nudging the horse with your leg, as these mistakes can cause the horse to move or become uncomfortable.
Basic Riding Commands
Once you feel comfortable in the saddle, your instructor will help you master a few basic riding commands, such as:
-Walk-On: This command is used to ask the horse to start moving forward at a slow pace. Use a gentle squeeze with your legs or a light tap with your heels while saying “walk on” to encourage the horse to move forward.
-Whoa or Stop: To ask the horse to stop, use the voice command “whoa” while gently pulling back on the reins and applying pressure with your seat. (Note that you should avoid saying “whoa” loudly as this may startle the horse; use a firm tone, but do not raise your voice.) Make sure to relax your body, lean back in the saddle, and reinforce the command until the horse comes to a complete stop.
-Turn: When you want to change direction, use verbal cues such as “left” or “right,” along with your legs and the reins to guide the horse in the desired direction. To encourage your horse to turn, relax pressure on your inside leg (facing in the direction you want to turn) while gently increasing pressure on the outside leg. At the same time, open the inside rein while maintaining light pressure on the outside rein.
-Back-Up: To ask the horse to back up, use the command “back” along with light rein pressure and seat aids to encourage the horse to step backward.
-Move Faster: When you are ready to transition from a walk to a faster gait, such as the Paso Corto or Paso Largo (if riding a Paso Fino; non-gaited horses will trot instead), gently nudge the horse with your legs while leaning forward in the saddle.
To advance more quickly in your lessons, try watching tutorial videos demonstrating these maneuvers (or, if possible, watch an experienced rider in the arena). Having a clear visual reference can help you understand how to position your legs and body and use the reins before you get in the saddle.
Maintaining Balance
When riding a gaited horse like the Paso Fino, remember to use your seat and reins to help maintain a consistent rhythm and pace. While it is much easier to maintain balance on a Paso Fino than other horses (as their gaits lack the uncomfortable vertical motion of a trot), you must pay close attention to transitions as these horses have more paces than non-gaited breeds. However, once you understand the subtle differences between the Paso Fino gaits, you will enjoy the unmatched versatility of covering ground quickly without jarring motions.
To develop a secure and relaxed seat in the saddle, adopt the following posture:
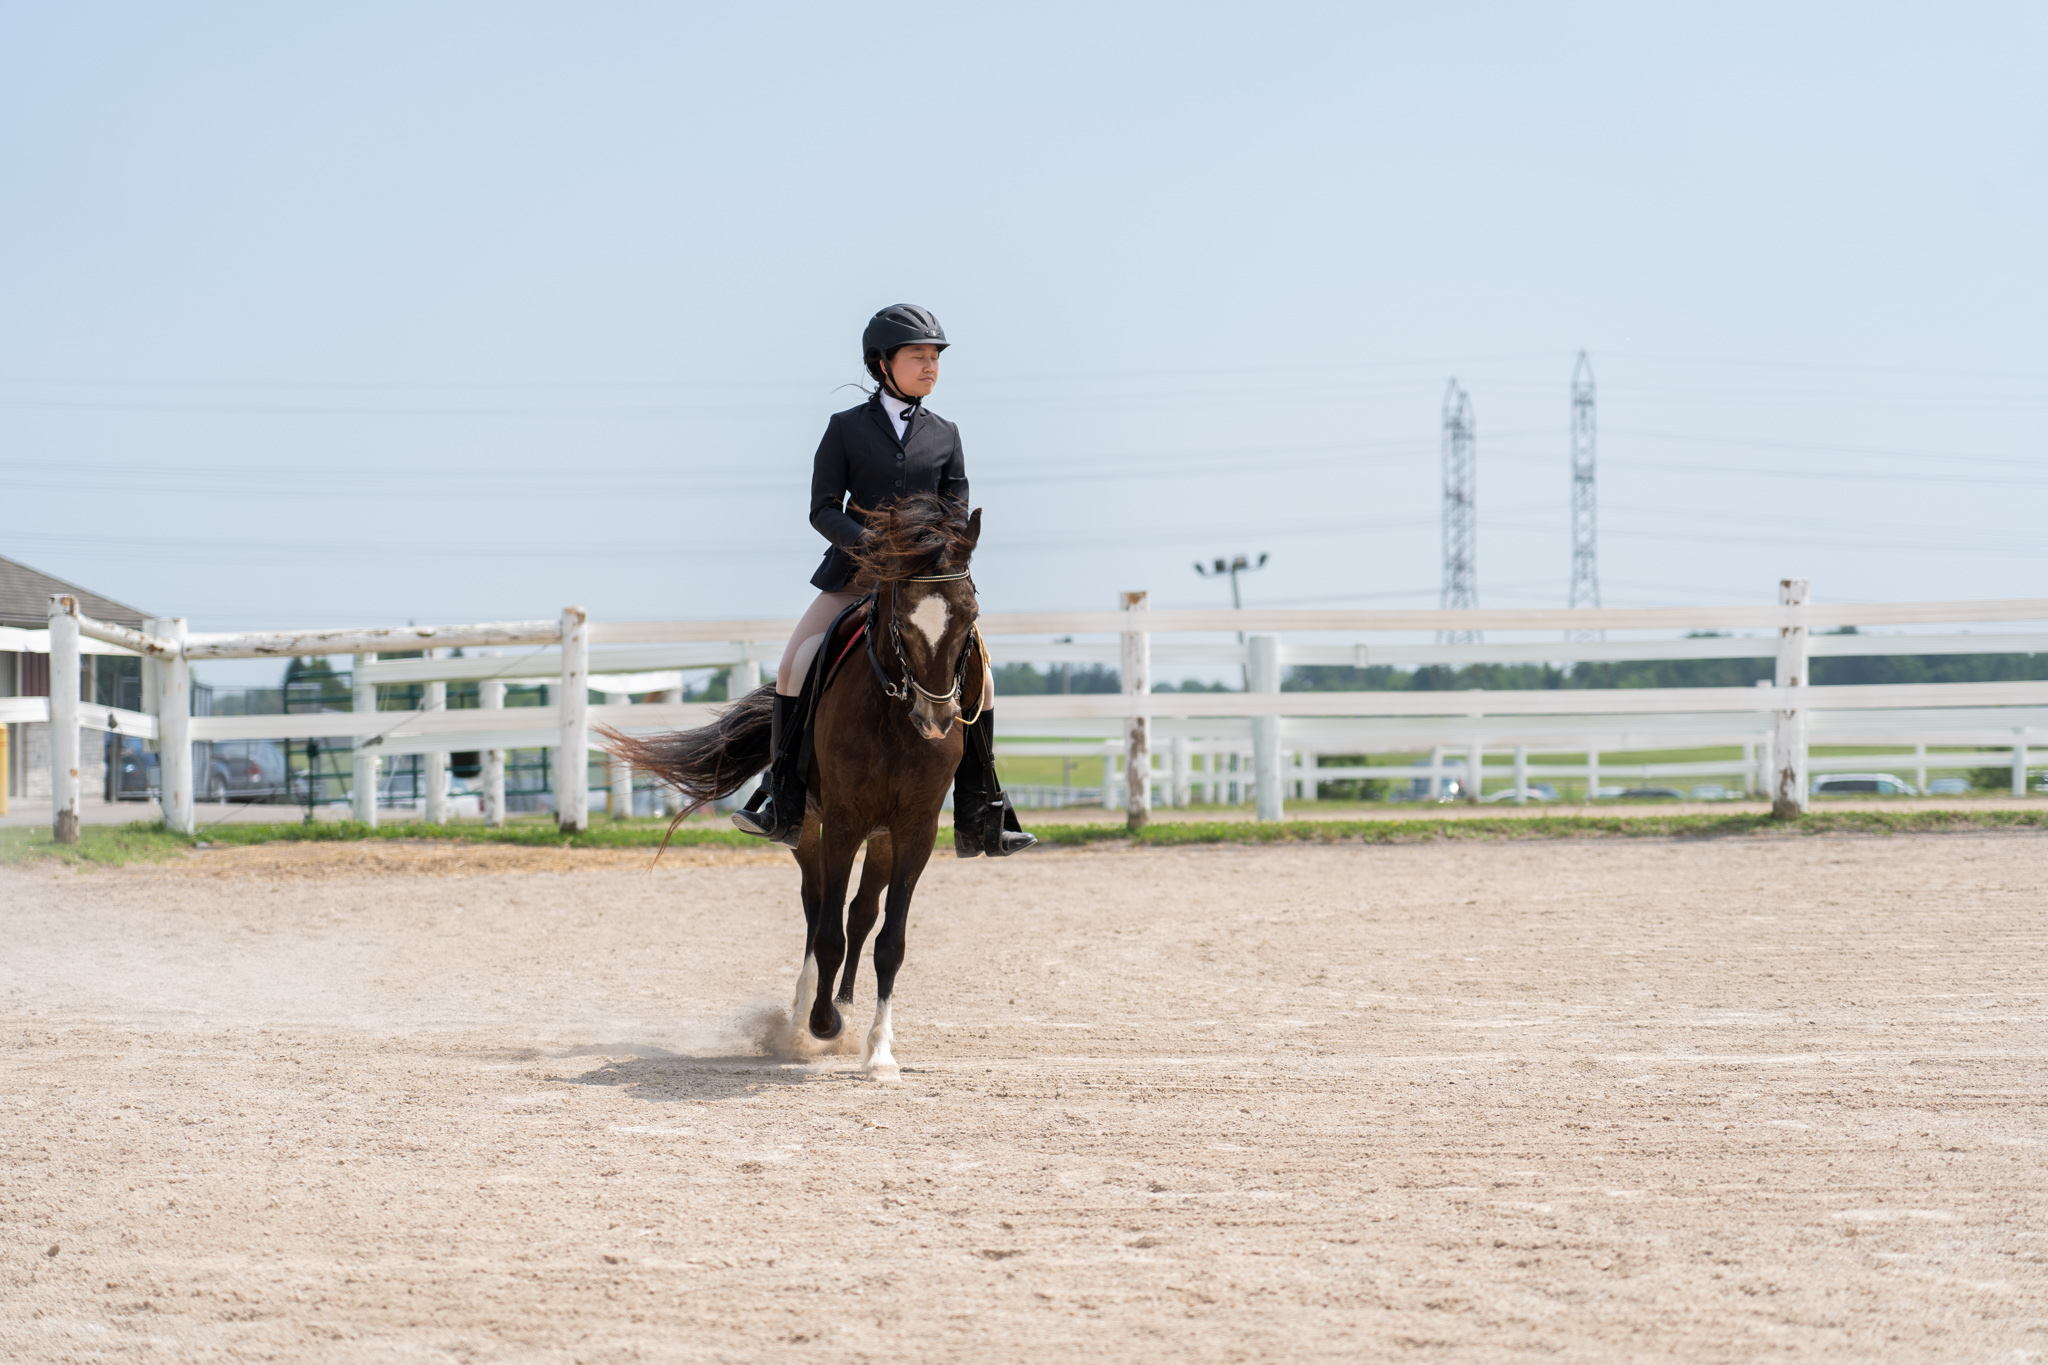
-Sit straight with your shoulders back, keeping your head up and looking forward. Align your ear, shoulder, hip, and heel in a straight line to maintain proper alignment and balance.
-Allow your legs to hang naturally down the horse’s sides with a slight bend in your knees, and keep your hips level but loose so they can move with the horse.
-Avoid gripping the horse tightly with your thighs or knees, as doing so can cause tension and imbalance. Use subtle shifts in your seat, along with leg and rein aids, to guide the horse’s pace and direction.
Staying calm is also crucial to keeping a balanced seat. If you start feeling nervous during your first riding lesson, try taking deep, rhythmic breaths as you ride. Breathing in sync with the horse’s steps can help you relax and feel more connected to the horse.
Build Confidence and Enjoy Your Lessons
Mastering horse riding is a rewarding journey; however, it requires patience, practice, and a positive mindset. To help yourself stay on track and enjoy your lessons, remember that it is crucial to set realistic goals and progress at your own pace; never compare yourself to other riders or rush into activities beyond your current skill level. Instead, focus on perfecting each new skill and celebrate small achievements and milestones as you advance.

Likewise, remember that your instructor is your best resource if you are struggling with a riding technique or confused about any aspect of horse riding. Do not hesitate to ask questions or share any concerns, goals, or feedback you have with your instructor. A supportive and understanding instructor can provide guidance, encouragement, and tailored instruction to help you progress at your own pace.
In addition to your instructor, other horse enthusiasts can be an excellent source of information, especially when riding a gaited breed like the Paso Fino. Other riders can share tips and advice tailored to riding a gaited horse and encourage you if you get frustrated. Many of the mental health benefits of horse riding are enhanced by the social aspect of the sport, so don’t be shy to reach out.